It’s The Little Things (but like, really…)

Just a little in the moment PSA while I thought about it. Jars. They’re super useful and it always feels good to reuse vs throw them away. I love me a good pretty jam jar for art supplies or storing materials in for the play kitchen. But here’s the deal folks, you’ve got to remove the label properly. Unless you’re keeping it intact for play kitchen purposes, do not partially scrape it off and then call it a day. Aesthetically it is awful. To touch it is awful – so sticky. And it just catches dirt and dust. You wouldn’t want your lovely things displayed in something that, let’s face it, looks like rubbish, and neither do your kids.

Go that extra step and soak/scrub that puppy off. Still sticky? Invest in a product like Goo Gone – it will change your life AND remove all that icky gunky glue. I use it all the time to remove the tape and price tags from things I thrift, to remove the labels from bottles before I make bottle babies, as well as to remove the glue from jar labels.

Side note – here’s a link to some other DIY sticker removal ideas for those who prefer not to buy plastic/use chemicals.

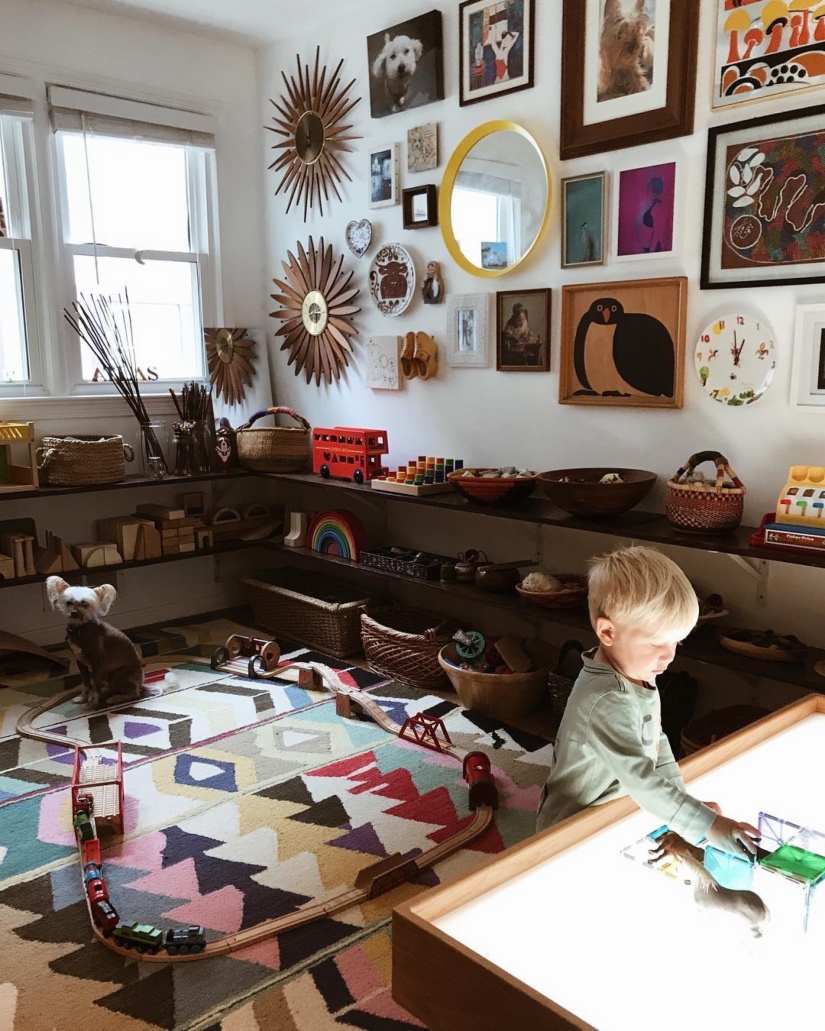
Remember to think about your children’s environment as the third teacher and be thoughtful about the materials you add, including the storage vessels. This idea is a staple of the Reggio Emilia approach, the philosophy I was inspired by when teaching and that still permeates into the work I do now.

Ring Ring! Old Phones are the JAM for Play! | #unexpectedtoys

Processed with VSCO with hb1 preset

I have a weak spot for old things – people, pets, and play materials included (haha). When we moved into our house there was an old house push button phone, which we immediately put into our kids’ play kitchen space. It has been used 1000 times over since then to ‘call’ all sorts of people. We did the same thing with an old flip cell phone we had, and most recently I bought a beautiful old wall-mounted rotary dial telephone from a yard sale and added that to their play space. What I’m saying is that old phones* make excellent toys. They are the perfect dramatic play accessories that can be used to order food, call family and friends, dial in for a super hero, call the fire department, share spy messages etc etc. So next time you thrift, or you’re at your parents or even grandparents house, see what you can find and bring home with you. Your kids will thank you!

*I don’t recommend using iPhones or other touch screen type phones as a toy, because when dropped the screens can easily shatter and make tiny pieces of glass that are primed to cut skin.

Easy DIY Revamped Basket Storage

Most things you find in a thrift store have had a past life (or lives!), and they have the scars and battle wounds to prove it. Baskets are no different, and sometimes the best ones are in need of a little plastic surgery before they can go out in the world again and look their best. My skill and time level for major fixing would be zero, but I have found a fun, easy, and super cheap way to breathe a bit of life back into tired baskets with broken handles and frayed edging. For example the larger basket in the images below had lost all the wicker on the handle and the metal had become quite rusty.

Enter cheap yarn or embroidery thread, and a handy dandy pom pom maker. It’s as simple as wrapping the handle nice and thickly with the yarn/thread, and then adding a pom pom for good measure at the end. It’s easy to tie off the beginning tightly but can be a bit trickier on the end side of things (or at least I have always found that to be the case), so I’ll often add some super glue over my final knot and then tie my pom pom over that to hide the evidence.

VOILA! A little bit of extra life and a whole lot more pizzaz in a beautiful old basket.

img_0521img_0855

There’s more to life than crayons.

Crayons. I’m going to be honest with y’all, I just don’t like them (writing this feels so un-American, like saying I don’t like apple pie or puppies). But it’s the truth. They aren’t satisfying to draw with, they break easily, they often end up as a toddler snack, and you always find 100s of them not being used in buckets and bins at people’s houses. There are other ways to live, people. Let me shed some light.

  • First up, it’s obviously OK if you don’t share my controversial feelings. But I do ask that if you’re going to go down the crayon path, at least invest in good quality ones. At the most basic, go with Crayola. Throw away all those random crappy ones that come from restaurants and coloring kits. They’re beyond rubbish.
  • Even better (and actually crayons I CAN get behind), get your tiny human some beeswax ones. They make a lovely rich mark and are environmentally friendly. Stockmar is a brand that does some great ones.
  • If you have a lot of broken Crayola crayons, consider melting them down and creating something a bit more visually appealing. I know using broken crayons can be great for encouraging pincer grip, but nobody needs a gazillion tiny pieces of crayons laying around their house. I have a gem shaped silicone mold I use for this, and I use similar shades when choosing what colors to melt together.

IMG_9055

  • Finally think outside the box and invest in something other than crayons. My favorites include Kwik Stix (tempera paint sticks), CrayPas (oil pastel/crayon hybrid), and oil pastels.

Add a little personality to your play kitchen!

Want to vamp up your kids play kitchen to make it feel more personal and a little less plasticky? Hit the thrift store this weekend (or even better on their sale days) and treasure hunt some secondhand items for your tiny human. These are some of my favorite thrifted items from my boys’ play kitchen.

From L to R, top to bottom:

  • Salad spinner (this was one of my favorite things as a kid, and TBH after this pic was taken, Pilot discovered the newer clear much faster spinner in the basement and this little vintage yellow one is officially on the out).
  • Measuring cups
  • Folding sieve (these things are just cool)
  • Scale
  • Flour sifter
  • Fondu pot (these are always on the smaller size and often have pretty wooden handle and knobs)
  • Empty tins (vintage ones are so lovely)
  • Tongs
  • Food canisters
  • Cloth and hand towel (perfect for washing and drying dishes and hands)

My Indoor Play Space | #mylittlehome

img_0848

I love change. My mind never switches off and is constantly thinking of all the different ways I could do things, including play space design (obvi). Not just for the folks I work with but also my own home. Our house is very small and over the last 3+ years we have worked hard towards living a more minimalist life. We aren’t there yet and we (like every other person with children) have junk, but with time, research, patience, and being able to work on so many other people’s homes, we are getting closer to creating a dream space for our family.

My boys (now 2.5 and 6.5) share a bedroom and also have a shared separate playroom. This means we can keep their room a zen toy-free space (with the exception of LEGO, but that’s for anther blog) and I can put all my brain power into creating the perfect play space for them. This room changes a lot – not just materials, but the layout too. As my boys have grown so have their needs and interests. I’ve also learnt a lot about what works and what doesn’t for them when they play alone, together, and with friends.

Our current set-up may be its best iteration yet. We added really simple DIY pine shelving around the room, which freed up a lot of floor space for play. I downsized what toys and materials are out, and we also created a gorgeous gallery wall with all the little pieces of art we could never quite find the right place for. It is absolutely my favorite room in the house.

…On a side note, this is how you should feel about your play space too! Children’s spaces should not be messy, junk-filled eyesores. This is not conducive to happy engaging focussed play, and it’s not nice for anyone in the house to look at. Businesses do a good job making us feel like kids need their own specific everything, from rugs to plastic colorful everything, when really all the magic, fun, and color should come from them – not the furniture or decor.

Sandbox/Mud Kitchen feeling neglected? Just add shade and water!

Our little mud kitchen and sandbox area wasn’t getting much love recently, so I decided to spice things up to entice little friends back in. Step 1) adding some permanent shade over the sandbox with a $25 shade sail from Amazon. Step 2) water! The kids play area is as far from a spigot as possible, so I found a secondhand rain barrel for the area. After a good clean, we popped it on a little table so the faucet was easily accessible, and filled it up with the hose. Voila! And instant water source for my boys! It was a MASSIVE hit and they played outside all morning engineering waterways and making stew concoctions. ☼

f00beb01-6e16-412f-a50d-1633b4da56f4

Joysticks – the blast from the past your kids need! | #unexpectedtoys

PSA: old joysticks are an incredible open-ended toy. Recently while thrifting I found two old ones for a whopping $2 each. I brought them home (obvi), cut off the cords, and lay them out as a play invitation for my boys when they woke up. After finding them and trying to figure out what the heck they were, they built themselves a Star Wars inspired snow fighter and spent the morning saving the universe. “Pew pew! Pew pew!”

A Little Free Library Space Just For Kids | #mylittlehome

img_0853

When we bought our house six years ago, the backyard was a jungle of weeds, dead trees, and a dilapidated chainlink fence. Over the years we have transformed it, including very early on erecting a six-foot wood fence (because as much as I love my neighbors, I need privacy and to feel like I have my own oasis). We live on a corner and our home backs an alleyway, and so permitting wise we had to caddy corner the back corner of the fence. This left a little triangular section of garden outside our perimeter that needed something other than dirt and weeds.

Rewind again, and six years ago my dearest friend’s baby passed away during childbirth. As a way of honoring her son, she asked friends to give books away in his name. This led to her sister establishing library shelves of children’s books in places of great need, under the name ‘Charlie’s Books’. I decided I wanted to honor Charlie in the same way, so we created our own Little Free Library just for kids in this space.

Over the years the plants have changed and grown, and this year we decided to create bean teepee over the reading bench, but it’s always been space where the neighborhood kids and folks passing by on their way to soccer or the playground, can stop and read, take a book, or leave some to share. And although this may not be a typical play space, I wanted to share because it’s something you could build for your front yard too as a way to create a space for all the children in your neighborhood.

Beverly + Sydney’s Mud Kitchen | October 2018

When your bestie’s small human has a birthday, you obviously need to go a little over the top. Beverly and Sydney live in a row house in DC with no backyard and a little front yard. Their mama really wanted them to have a place where they could play outside, so we dreamed up a little mud kitchen area for their tiny square of grass in the front. First step was removing/moving their two currently unused raised beds. One half was beginning to rot, so that came out. And then we scooted the other bed closer to the road to make a tiny spot to play.

Back home my beautiful beloved front yard bench had finally given up on life and fallen completely apart. I hated to throw it away and had held onto it more some kind of up-cycling, and then *voila* realized it would make the perfect mud kitchen, and we could make it look gorgeous and not in anyway an eyesore from the road.

BEFORE

IMG_4337

My lovely husband who does all the building and installing for this little venture, removed the old broken seat, replaced it with a new wood top using scraps, tightened everything up, added a shelf, and gave it a nice sand down. All with an adorable helper or two at times. 😉

The finished product came out better than I could have imagined and is a huge hit with the girls (and my kids). We furnished it out with a fun variety of pots and pants and other kitchen bits and pieces, plus lots of natural materials we had been gathering for them (rocks, acorns, sticks, feathers, other seeds etc). There are hooks to hand things (rope included), a place to park their dump trucks, and we up cycled some old slate paver pieces we found in our yard to help really designate the space. The mud kitchen also happily right near the spigot, so Beverly and Sydney can add water to their play when needed.

AFTER

Processed with VSCO with kk2 preset