Evie + John’s Play Space Makeover | August 2018

Evie (4) and John (2) have a large playroom dedicated almost entirely to them (there is a bookshelf and built-in for parent storage), which needed a little reorganization to help create more defined play spaces. Mum and dad had gathered all the bones for the room and just needed help putting them together to create a flow that allowed for more independent open-ended play, greater play arcs, and an easier time cleaning up.

This is actually a super common problem folks have, they have everything they need (usually more than need!) for a really great play space, but lack the know how on how to arrange and organize things to create a space that feels open, organized, and inviting. 

Working with their mum, this was a quick ‘swoop in and get it done in a few hours’ kind of job, with very little prep needed before I arrived. Here’s what we did:

  • Removed the large antique change table and replaced it with a 8-slot white Kallax shelf, which doubles as a little play kitchen thanks to the addition of a door in one slot and kitchen decals.
  • Moved around furniture to create a larger, more open space for building and small world play.
  • Reorganized toys to be in specific buckets/baskets – making it easier for the kids to find what they want independently and also clean up without help.
  • Used the lofted area for quiet solo activities like puzzles (a curtain will be added later).
  • Turned their Ikea Raskog cart into an art cart, which can be moved between the work table (which will have mirrors added above it) and the wall mounted easels in the other room.
  • Added a few new ‘spare parts’ to the building area, and moved art supplies onto the art cart to free up the little wooden drawers for easier spare part storage/access.
  • My favorite part of this make-over was the little kitchen we made for Evie and John. This is a great little hack if you’re limited for space/storage, but still want a play kitchen. I scored this Kallax shelf on Craigslist for $25, snagged the door at IKEA, and these decals from Amazon. Total cost: $58. Bargain!

BEFOREIMG_2523

Mabel + Violet’s Bedroom Makeovers | August 2018

Y’all, this was such a fun makeover to do. While not technically play spaces, the girls’ bedrooms are their main hubs and when you’re a pre-teen and beyond, I feel like your bedroom becomes your playroom. Mabel (10) and Violet (7) were darlings, letting me into their private spaces to take creative charge. Both girls were asked about their wishes for the rooms and with this in mind I got busy with what I think is my biggest makeover yet.

Mabel’s Room

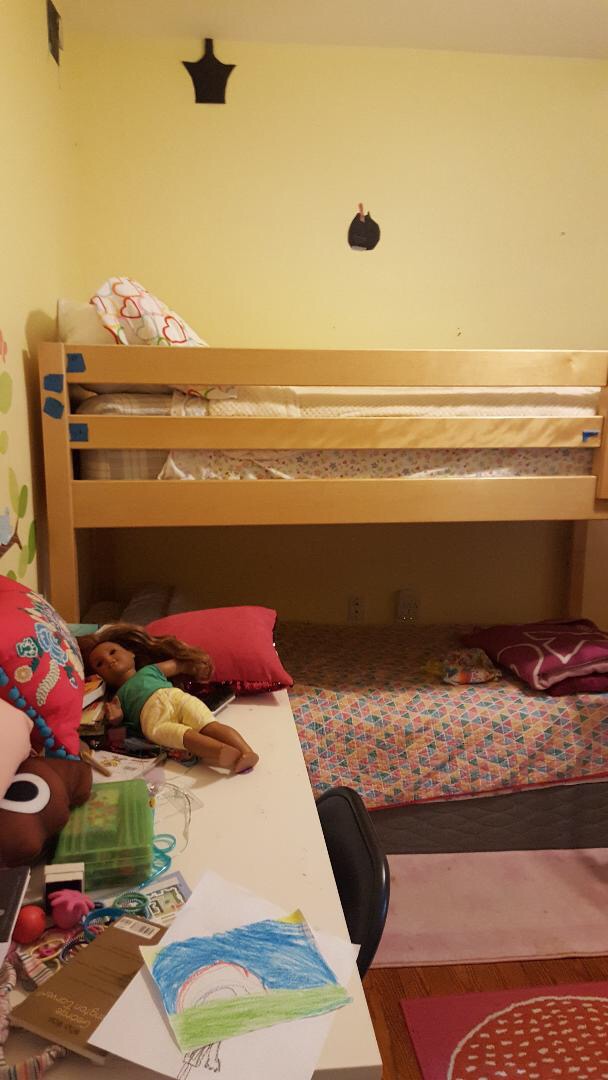
Mabel’s room was all about embracing the motto “a place for everything and everything in its place”. Things were scattered in all the wrong places, and the furniture/storage that was available wasn’t being utilized. She also wanted the room to feel more like a big kid space – the decor hadn’t been updated since she was a baby. Her request was a space for her dolls and a reading nook. Here’s what we did:

  • Moved out a surplus bookshelf and consolidated all her books onto the Kallax shelf (Mabel is an avid reader)
  • Removed everything from the desk and organized all her writing implements and notebooks before putting it back.
  • Hung a large mirror over the desk to make the room feel bigger and brighter.
  • Removed the dark curtains and replaced with brighter lighter ones.
  • Rearranged the layout of her dresser to open up the room more.
  • Removed the cupboard door and hung curtains to make more space and create a little nook for her dolls.
  • Turned the unused bottom bunk into a reading nook complete with twinkle lights, bookshelves, artworks, and new sheets and pillows.
  • Hung new artworks specific to Mabel’s interests and an IKEA Dignitet line for hanging her artwork (old artwork was removed).
  • Lots of organizing and cleaning.
  • Still to come – a custom shelf for the top bunk for Mabel’s book and drink bottle. 🙂

    BEFORE
    IMG_2002IMG_2001AFTERIMG_2547IMG_2549IMG_2550IMG_2546

Isabel + Molly’s Play Space Makeover | July 2018

Four-year-old twins Isabel and Molly’s sunny play space needed a little sprucing up. The room had lots of wonderful elements but needed more storage, more organization, and some restructured spaces with additional open ended toys.

Their mum was at her wits end with keeping the space clean and organized, especially the art supplies, and hoped the girls would expand their play interests towards the blocks. She also wanted a place the girls could read and a little space for them to explore tiny treasures (something she had seen at a friends’ house and hoped to replicate).

The play space is occasionally used as a workspace when the girls’ parents work from home, so we needed to keep their workspace/desk in the room + their books in the upper half of the built-ins.

BEFORE70d8d525-bbfd-4d5a-a150-8bae3bf2f37bThe play kitchen in the space was no longer being used productively, so we removed both the plastic kitchen and the wooden fridge to make space for a designated spot for the dollhouse (a favorite toy) and a building nook – something the twins’ parents hoped they would become more interested in.

I also created a little fine motor exploration tray (a specific request from the girls’ mum) in the same way I made this tray, only I filled it with little tiny treasures, bamboo tongs, and stacking bowls for sorting them into.

I sorted and organized the food and other accessories from the kitchen, and used two of shelves on the built-ins as a space for picnic play thanks to a picnic basket I found in the basement when cleaning up.

I also used leftover FLOR carpet tiles the family had to create a soft carpeted area for the girls’ to play on, and to designate the play space in the room.

Lily’s Play Space Makeover (outside) | June 2018

We finished Lily’s makeover by installing her outside mud kitchen. Originally the space beside the garage was an overgrown bare concrete slab. But with a little muscle to clean off a thin layer of concrete (thanks Eric) and expose some lovely pavers + a a good old sweep and pressure wash, it became the perfect spot for Lily to set up shop and play!

  • We created a mud kitchen for Lily using scrap wood and an old sink, which can double as a water play station by just adding a sink plug. I accessorized the kitchen with a variety of baskets, kitchen storage containers + utensils, filled with lots of greenery, rocks, water and sand. The perfect ingredients for all sorts of potions and fun.
  • On the walls we added an old mirror for visual effect and a chalkboard where Lily can draw and write out her recipes. 🙂
  • We used an old pallet to create a simple tree shape decoration, which will double as a trellis for a pot of climbing beans to grow up.
  • And finally we added bottle babies – a fabulous open ended ‘toy’ for strength building, color and light play, and pretty much anything else you want to use them for.

Annnnd of course my little assistants were on hand to help make sure the mud kitchen was in good working order before we left. 😉

BEFORE