A LEGO Space in LA | #inspiredbyCPS

Processed with VSCO with q5 preset

I have been in full pudding mode thanks to the flu, but my dear friends in LA have been working hard to create this #inspiredbyCPS LEGO space for their (almost!) six year old son. His baby sister is now on the move and Oliver was desperate for a nook in their apartment where he could build away from interested little hands. With a few clicks on Amazon, they had the perfect place for him to build – a wall mounted shelf desk, organized LEGO storage drawers, wall shelving for displaying his creations, and artwork/lighting for aesthetics (the lightbulb in the hanging light even changes colors so Oliver can set it for “different moods” :). He was so excited at the finished product he didn’t even wait for them to clean away their tools before he started building!

Mirrors | #curatedPSA + #unexpectedtoys

You might have noticed that I use mirrors in all my installs – inside and out. Aesthetically, they are an easy and inexpensive way to make your space feel bigger and brighter. I love adding large mirrors on walls opposite windows to reflect light, over desks and work spaces, or hung low to the ground so our small humans can watch themselves play and learn (side note – all kids love looking at themselves in the mirror).

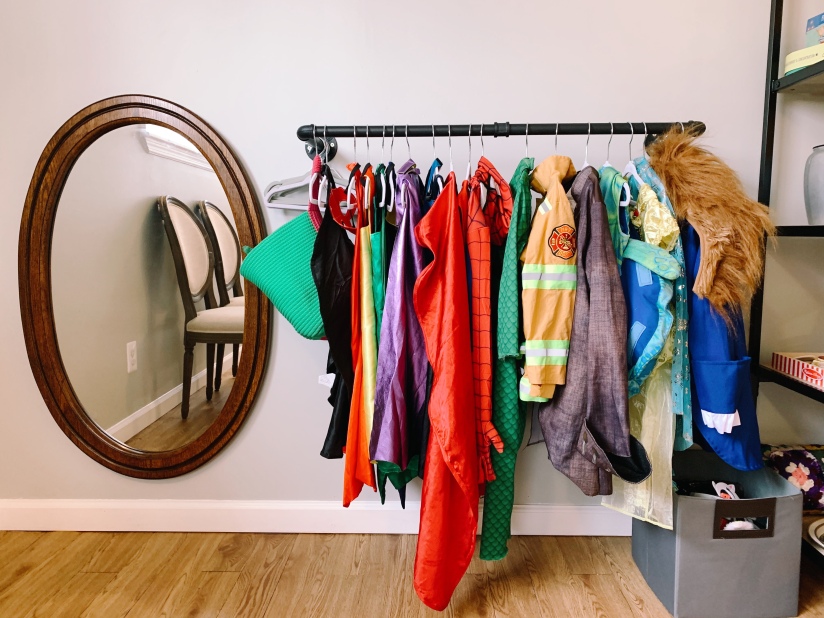
A long or full length mirror is also essential for your dramatic play nook (how else can you admire yourself post dress-ups?).

Outside I often hang mirrors over/around sandboxes and mud kitchens, but you can choose to hang anywhere where you want to add a little more dimension.

You can look to thrift a large (my general go-to) or get something simple like the NISSEDAL mirror from IKEA.

I also love to use small mirrors in play. You can buy acrylic mirror sheets, which are non breakable and make a really lovely play surface – for inside and out (note they will eventually get scratched). I’ve also used smaller square mirror sheets to create mirrored trays for a more portable play surface/display case.

I also keep a couple of table top/hand mirrors with my art cart. They are great when drawing portraits or for adding a new dimension to still life artworks. You can also use the acrylic mirror sheets as a washable canvas.

Addie + Charlotte’s Play Space | January 2020

Addie and Charlotte are such creative kids, with art and craft materials to rival a professional artist. Charlotte loves American Girl Dolls, and has an enviable collection of dolls and their fashions/accessories. Both girls also love LEGOs. All of this adds up to a lot of stuff but not a lot of space to put it all. This equaled a main level play space that was overflowing and muddled with art supplies and toys, while their basement play space was being underutilized.

This is where I come in. 🙂 Their lovely parents were keen to find ways to maximize their play spaces and create better storage and organization. They also wanted to keep with the same beautiful aeshtetic on the main level they had created with their custom pieces from Forty Third Place. Here’s what we did:

Continue reading “Addie + Charlotte’s Play Space | January 2020”

Nathan + Maren’s Play Space | December 2019

I can’t think of a better way to end the decade than by being given the privilege to create a brand new play space for two wonderful tiny humans. When I visited their home for a consult, the kids main play space was the open concept living room that connected with the kitchen. Having toys in this space works well, because it’s a great space for the kids to play when a parent is cooking and they want to be close. But the room as overflowing and with the prospect of a new play kitchen coming for the holidays, something new had to be done. The kids’s bedrooms were also jam packed with toys, most stored in way that they just weren’t being used.

The solution was creating a new play space in the finished basement, that up until now had double as holding place for things that needed storing or donating.

Continue reading “Nathan + Maren’s Play Space | December 2019”

Evie + John’s Play Space Makeover | November/December 2019

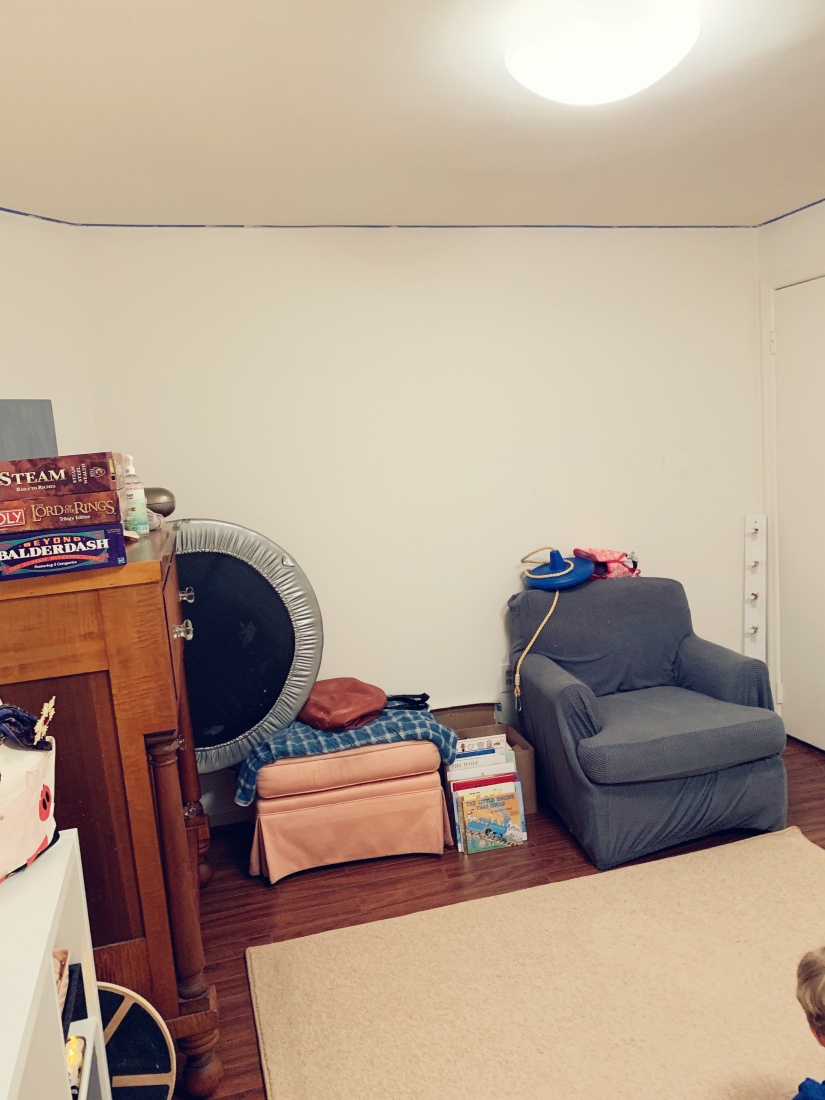
Lucky me! This was the second play space I have helped to create for Evie and John. The first in their old home, and this new space in the finished basement of their new home. Their parents were keen to create a space where both kids would want to play independently/together, without the need for constant parental supervision or help. They wanted this space to be the main hub for toys, and a place that the kids’ friends could run amok and have fun in.
The rundown when I arrived:

  • The space had been freshly painted white to help brighten the mostly windowless room, painters tape still needed to come down.
  • There was a large dresser in the space that was slated to be sold.
  • There was a gorgeous pile of artwork in need of displaying.
  • More functional storage options were needed for toys/materials.
  • The bunkbed was being underused and the top space used for storage.
Continue reading “Evie + John’s Play Space Makeover | November/December 2019”

The ‘Thoughtbarn’ Playhive you’re going to NEED!

Processed with VSCO with kk2 preset

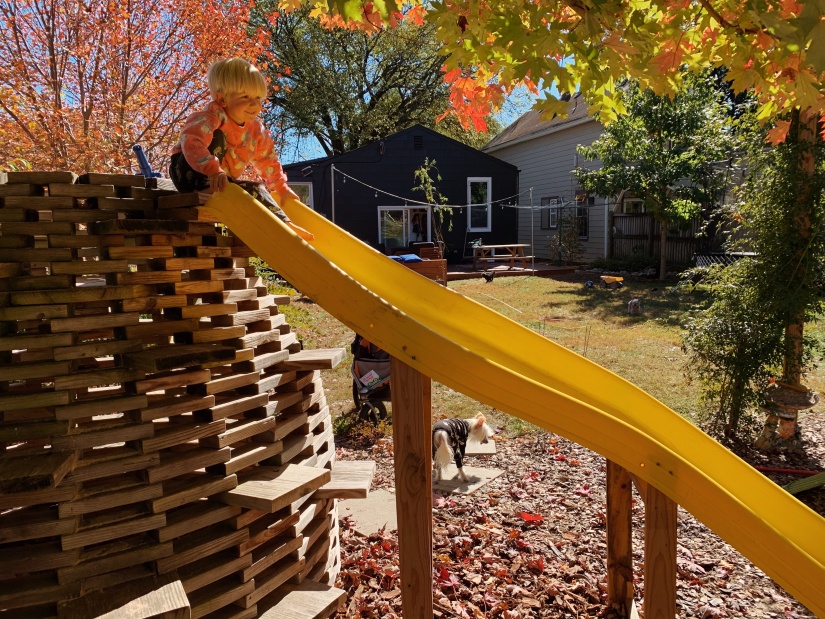
Many many years ago before we had kids, I discovered Thoughtbarn’s amazing ‘Playhive’. It was love at first sight and I always dreamed of building it at one of the schools I worked at. Fast forward to life as a mama at home with a toddler and I decided that now was the time to make that dream a reality for us. Enter my lovely husband who makes all my crazy dreams and aspirations come true, a few months of tacking away at it (because every single piece needed to be cut and sanded by hand) and finally we had our very own Hive. And the best part – you can build your own too, because Thoughtbarn is insanely rad and shares the plans for FREE! Download them HERE.

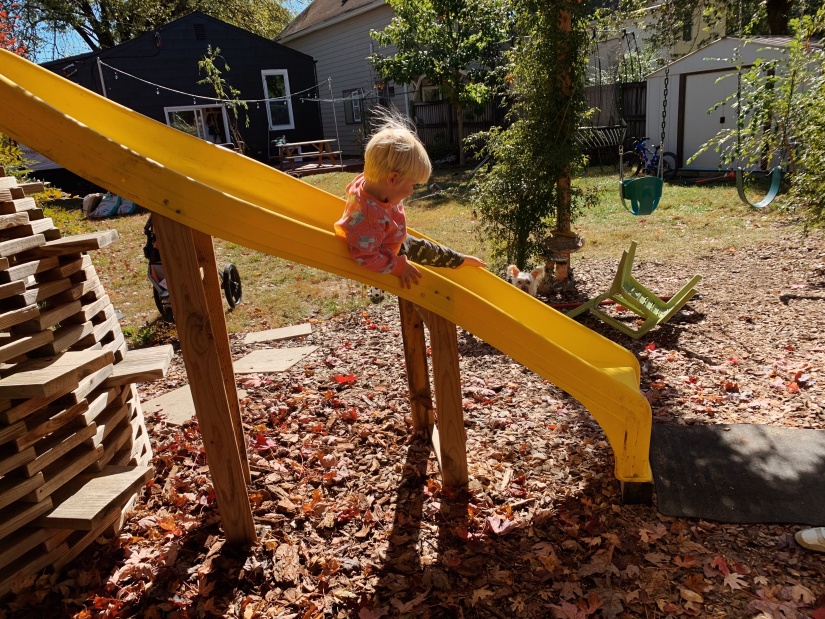
Update – over the years we decided to pimp out our Hive a little, by adding a slide and also most recently a play telescope. This created new invitations to play and has revigorized how our boys and their friends use it.

Processed with VSCO with kk2 preset
Processed with VSCO with kk2 prese

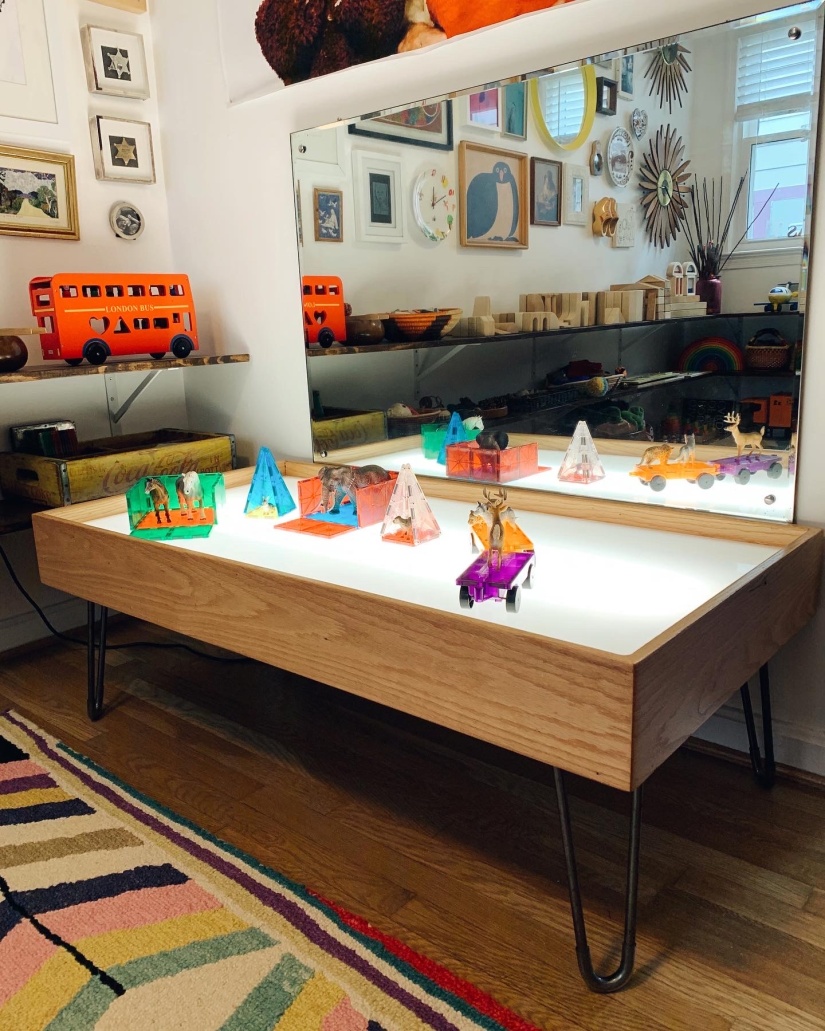
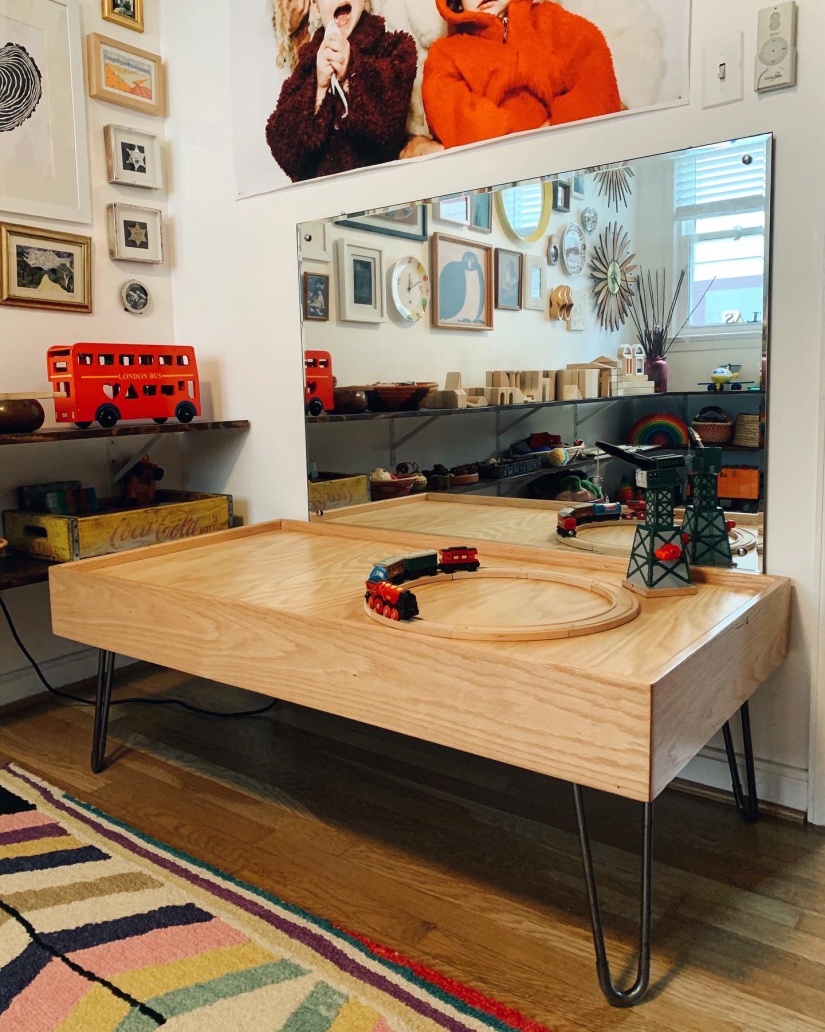
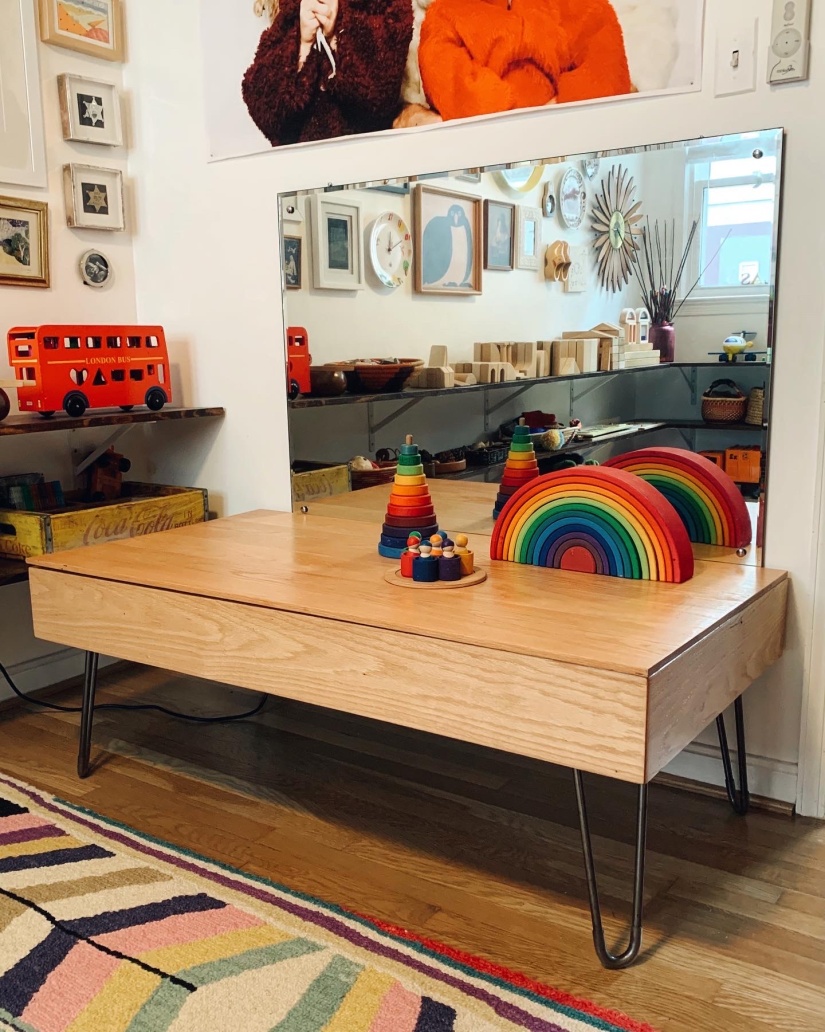
DIY combo light table/train table/coffee table (aka, the furniture dream).

c0b8cab5-d801-4296-92a1-ed01dc1f2b3b
Light Table

f31eb521-3d95-4f48-9794-0ec7c339d997
Train/Play Table

e3144cda-12e6-4a52-bae0-d1328d3d49a3
Coffee Table

I am forever getting these big ideas, so it’s rather lucky that I am married to someone who is willing to make them a reality. Case in point, when our oldest was a baby I decided he had to have a light table, that also doubled as a train/play table, and that we could also use as a coffee table. It needed to be beautiful and affordable to make too. Easy right?

With lots of planning, some tool lending from friends, and lots of tweaking to get the lights just right, my darling wonderful husband built me this! Four years and another baby later, it still gets used daily. The light table element is definitely the most popular layer, but it is used in all its iterations. Don’t you kind of need one now too? 🙂

Play Invitations.

Imagine you’re hosting a dinner party. You’re setting the table and laying out the food before your guests arrive. Are you going to a) throw everything into a big pile in the middle and call it a day or b) carefully lay things out in a way that is aesthetically appealing for your guests? I’m going to take a wild guess that everyone will choose the latter, because no one is going to want to sit down and eat a meal that resembles a junk site. This reasoning and thought process should be applied to your children’s play spaces too.

Just like in the Reggio Emilia teaching philosophy that considers the environment the ‘third teacher’, the way you lay out your child’s toys and materials changes the way they play and interact with them. You are essentially setting up play invitations. Stop and go and take a look at your child’s toys. What sort of invitation are you giving your child? Is your space set up in a way that looks inviting to you? No? Then your child probably won’t be interested either. A lot of folks contact me because they are desperate for their children to play and engage independently in their spaces, but it’s never going to happen if you don’t spend the time creating beautiful, interesting play spaces for them.

So the next time you’re cleaning up and organizing their play space, instead of just dumping everything into a jumbled basket of toy soup (this goes for LEGOs too), spend the time to think about and create an environment that will invite and entice your child in to play and engage!

An indoor cube ‘clubhouse’ (as my boys like to call it).

Processed with VSCO with kk2 preset

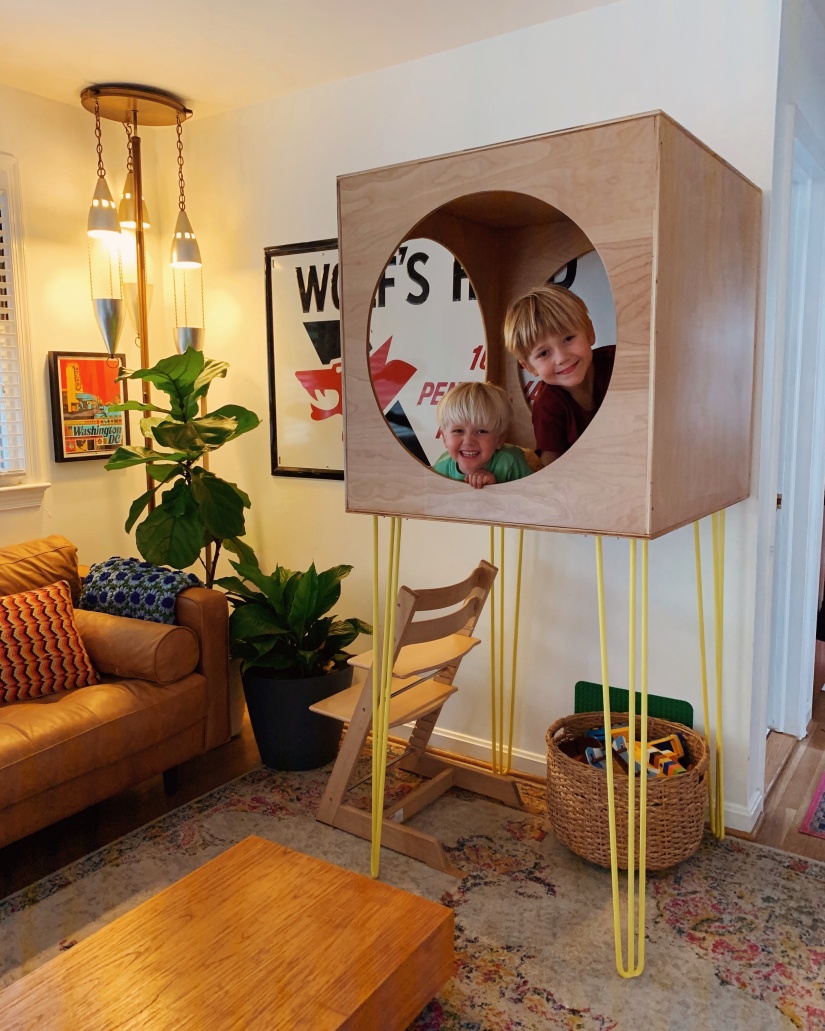
A couple of years ago my lovely husband built this cube for our boys for Christmas. They ending up only wanting to play on top of it, so it was relegated to the basement. Fast forward to now, and while working on building a bookcase for a family using fun legs from DIY Hairpin Legs, I had the happy thought that our boys would love the cube if it was lofted vs sitting on the ground. So I bought some fun super tall hairpin legs for us (our house is tiny, so the space under it needed to still be usable too) and voila, this magic happened today. A ladder* still needs to be made, but for now our trusty Tripp Trapp chair by Stokke works perfectly.

*update – a ladder has been made, hooray!

There’s more to life than crayons.

Crayons. I’m going to be honest with y’all, I just don’t like them (writing this feels so un-American, like saying I don’t like apple pie or puppies). But it’s the truth. They aren’t satisfying to draw with, they break easily, they often end up as a toddler snack, and you always find 100s of them not being used in buckets and bins at people’s houses. There are other ways to live, people. Let me shed some light.

  • First up, it’s obviously OK if you don’t share my controversial feelings. But I do ask that if you’re going to go down the crayon path, at least invest in good quality ones. At the most basic, go with Crayola. Throw away all those random crappy ones that come from restaurants and coloring kits. They’re beyond rubbish.
  • Even better (and actually crayons I CAN get behind), get your tiny human some beeswax ones. They make a lovely rich mark and are environmentally friendly. Stockmar is a brand that does some great ones.
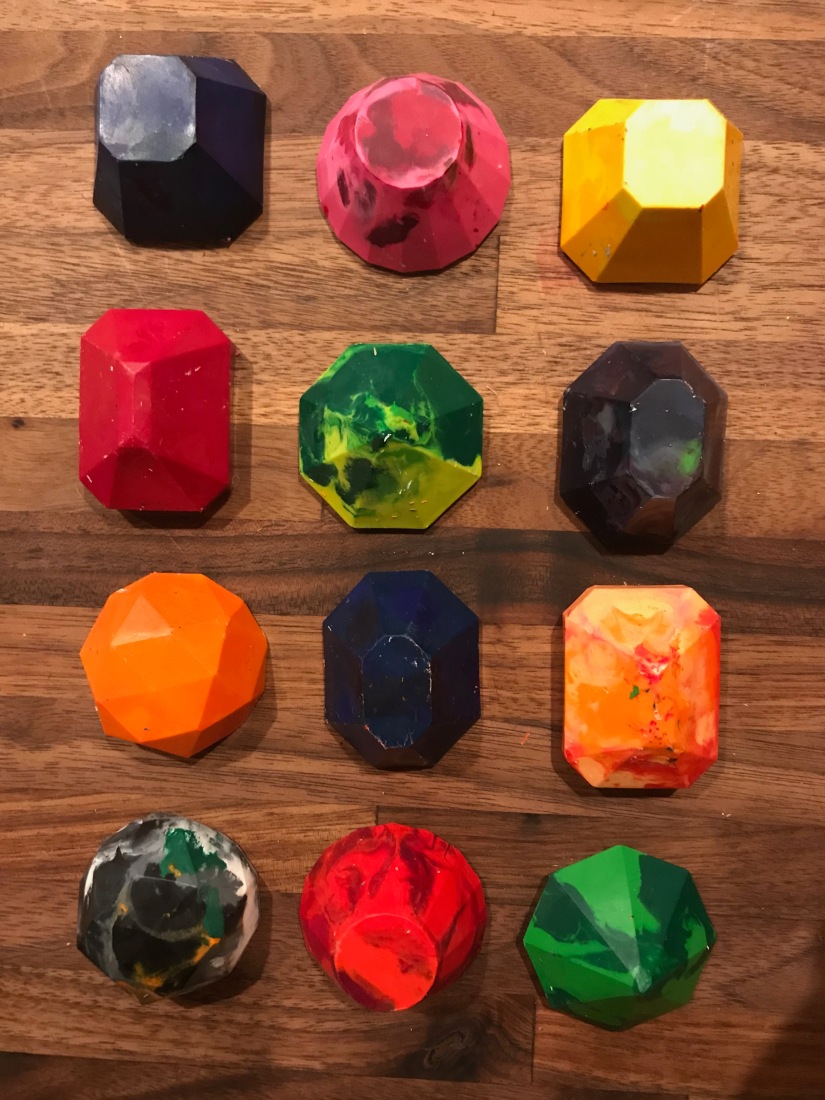
  • If you have a lot of broken Crayola crayons, consider melting them down and creating something a bit more visually appealing. I know using broken crayons can be great for encouraging pincer grip, but nobody needs a gazillion tiny pieces of crayons laying around their house. I have a gem shaped silicone mold I use for this, and I use similar shades when choosing what colors to melt together.

IMG_9055

  • Finally think outside the box and invest in something other than crayons. My favorites include Kwik Stix (tempera paint sticks), CrayPas (oil pastel/crayon hybrid), and oil pastels.